Quick Start - Vault Vision
This Vault Vision setup guide will get your user authentication and login management system up and running in less than a minute.
Create an Account at Vault Vision
Navigate to Register and create an account.
Try out your development sandbox
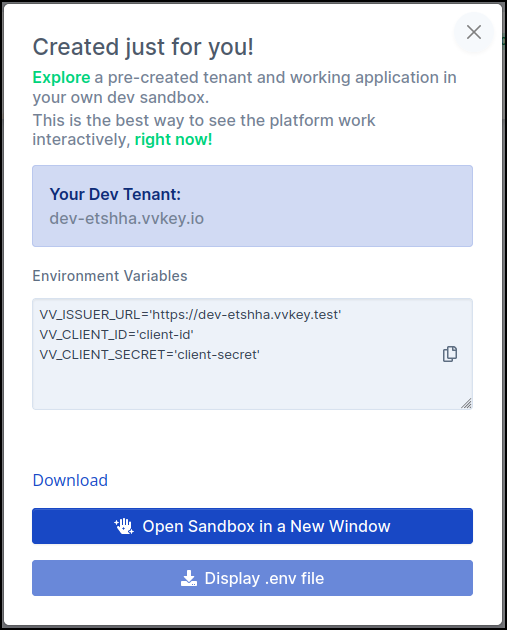
Each Vault Vision account is provisioned a development sandbox Tenant during registration. You will see the image below right after you signup or you can access it again by just visiting the Management Panel:
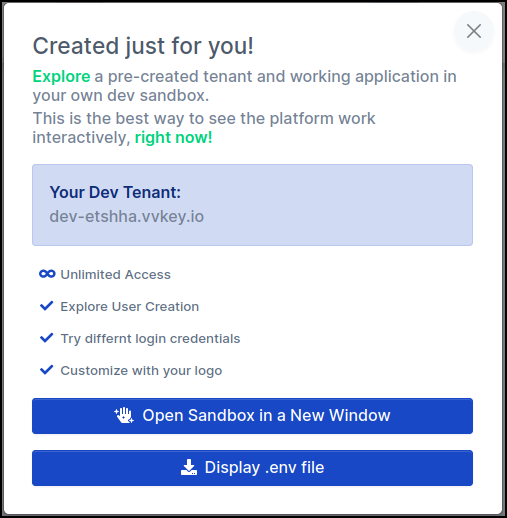
Click the “Open Sandbox in a New Window” button to load the example application running on our servers:
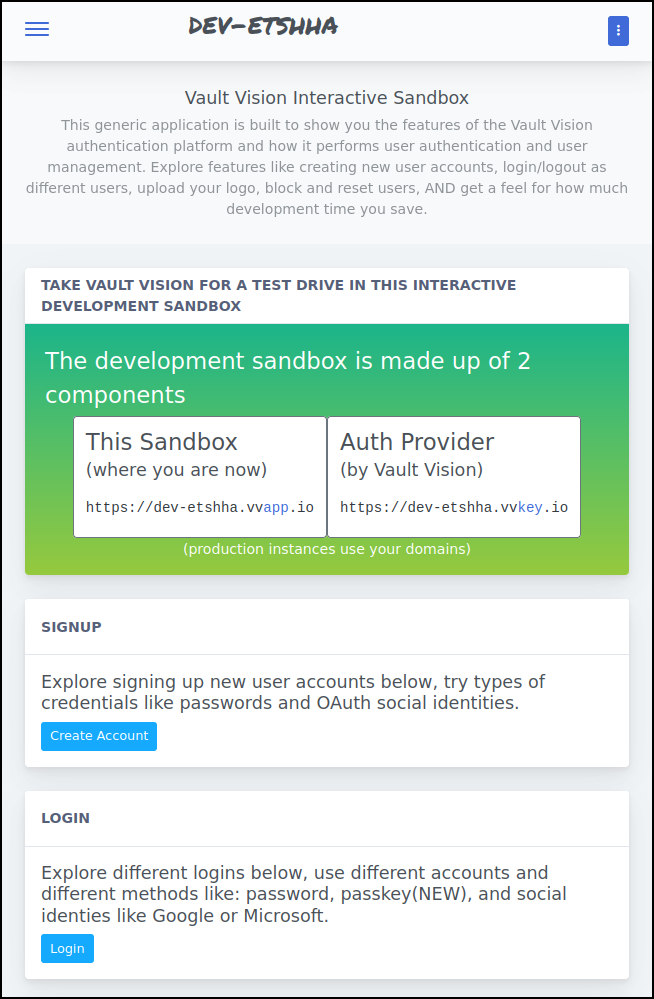
Click signup to create your first User. You can then test logging out or updating your settings:
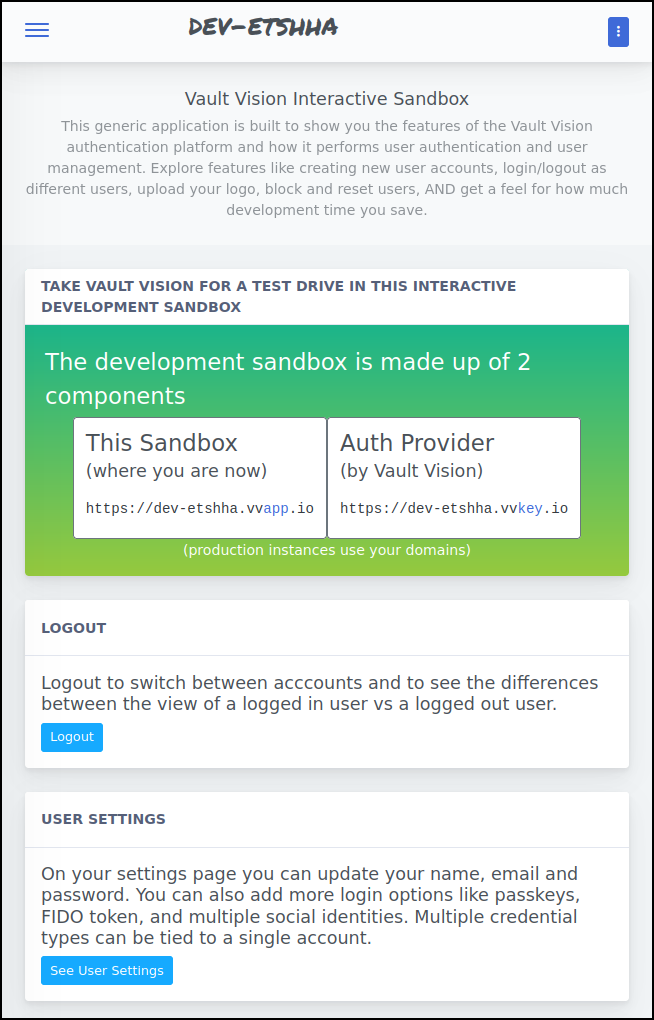
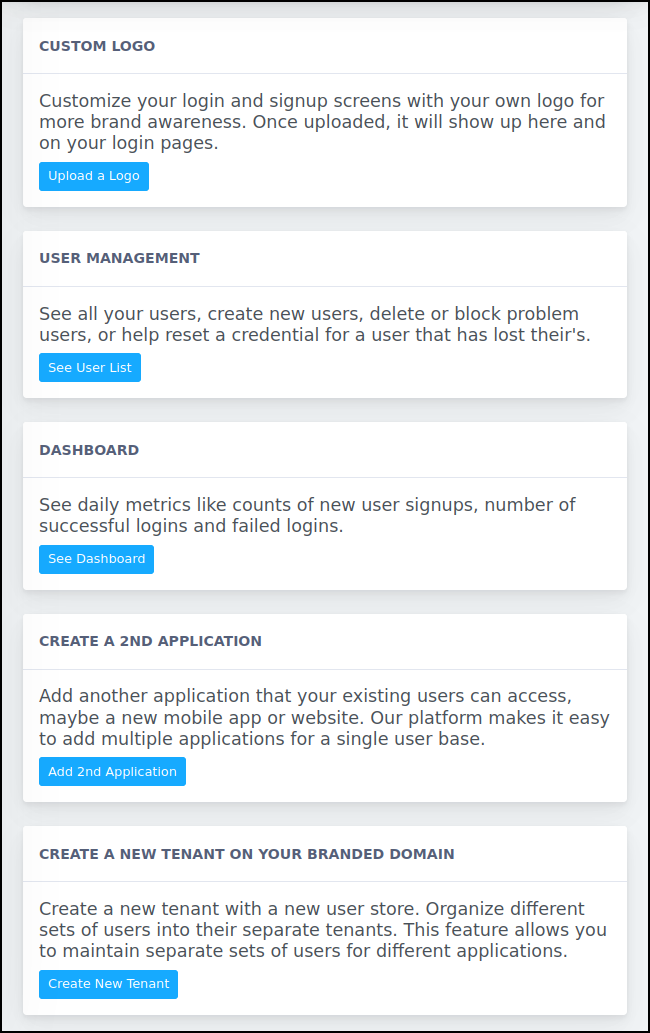
Feel free to explore the other options in the sandbox before moving on:
Run your own example application locally
We provide example auth applications written in Node, Go and Python with more to come.
Note
Our system is built on open protocols that support every programming language. Get in touch with us if you would like support integrating with a programming language we don’t currently provide an example for.
Get your configuration values
Access the development sandbox popin again by visiting the Management Panel and click the “Display .env file” button to get your configuration values for our open source example projects. Download or copy it locally into a file named .env, we will use it in the examples we configure next:
Run the Go auth example
Get the source code from the go-auth-example repository:
git clone https://github.com/vaultvision/go-auth-example
cd go-auth-example
Configure the app by placing the .env file we obtained previously into the root of the repo folder:
vi .env
Run the example on localhost:
go run main.go
Visit http://localhost:8090 in your browser.
Run the Node auth example
Get the source code from the node-auth-example repository:
git clone https://github.com/vaultvision/node-auth-example
cd node-auth-example
Configure the app by placing the .env file we obtained previously into the root of the repo folder:
vi .env
Install dependencies:
npm install
Run the example on localhost:
npm run dev
Visit http://localhost:8090 in your browser.
Run the Python auth example
Get the source code from the python-auth-example repository:
git clone https://github.com/vaultvision/python-auth-example
cd python-auth-example
Configure the app by placing the .env file we obtained previously into the root of the repo folder:
vi .env
Install dependencies:
python -m venv .venv  # Or python3 for some systems
.venv/bin/pip install --upgrade pip
.venv/bin/pip install -r requirements.txt
Run the example on localhost:
.venv/bin/python app.py
Visit http://localhost:8090 in your browser.
Run the React js boilerplate example
clone this github repo containing our React js boilerplate project https://github.com/vaultvision/react-boilerplate-vv
Copy over the env vars from the Vault Vision Management Panel into a NEW .env file located at the root of the project. You can copy this file as an example https://github.com/vaultvision/react-boilerplate-vv/blob/master/.env-example , or simply rename it .env and populate it with your correct env vars.
Run the npm start command to launch a local instance
npm run start
Run the HTML boilerplate example
clone this github repo containing our HTML boilerplate project https://github.com/vaultvision/html-boilerplate
Copy over the env vars from the Vault Vision Management Panel into one of these files: https://github.com/vaultvision/html-boilerplate/blob/main/src/scripts-init/oidcAppRouter.js or https://github.com/vaultvision/html-boilerplate/blob/main/src/scripts-init/oidcbinding.js
Run the npm start command to launch a local instance
npm run start
Testing your local example
With your local example running you can now see how you can use the same credentials to login to multiple applications hosted on different domains written in entirely different programming languages. Feel free to explore multiple programming languages using the same .env file.